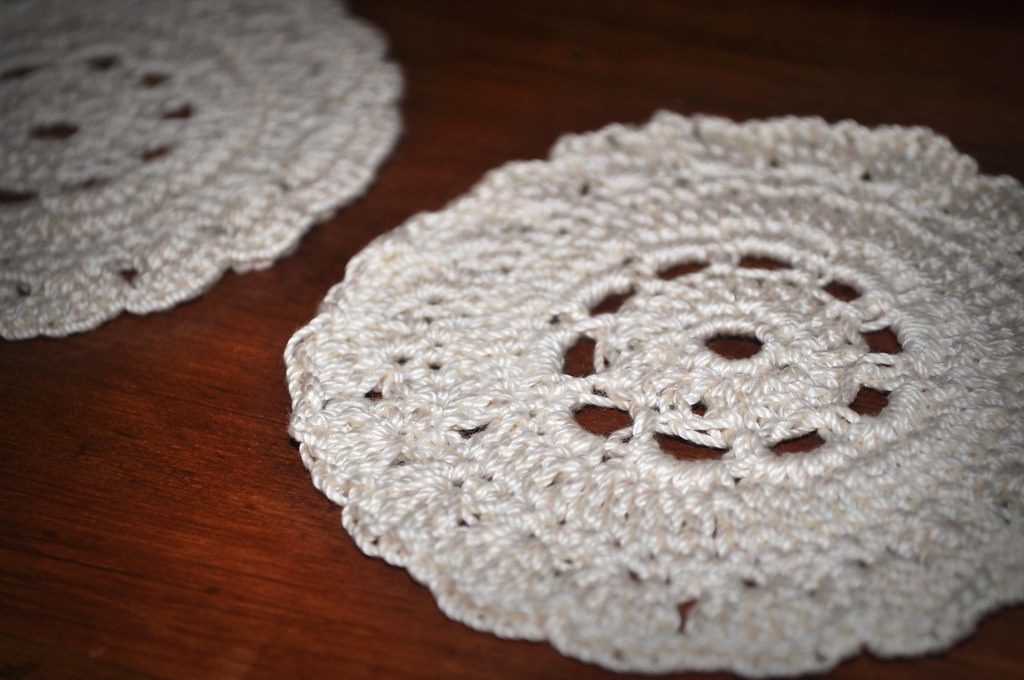
Vintage Flower Coasters
Materials:
3.25 mm (D) crochet hook
Red Heart Fashion Crochet Thread (Size 3)*
Scissors
Tapestry needle
*WalMart currently sells Red Heart Fashion Crochet Thread for approximately $2.00 per spool. I chose "Bridal White" which is actually more of a cream color. I estimate that you can expect to make at least 4 coasters from one spool. (I made two after already having completed a small teddy bear. There still appears to be sufficient thread remaining for a third coaster.)
Finished Size:
4 1/4 inches in diameter
Abbreviations:
ch = chain
sc = single crochet
dc = double crochet
sl st = slip stitch
st = stitch
The number of stitches you should have at the end of each round is given in parentheses.
Directions:
---> To begin, ch 2.
Round 1: 10 sc in 2nd ch from hook. Join with sl st to 1st sc of round. (10)
Round 2: ch 3 (counts as 1st dc). dc in 1st stitch. 2 dc in each remaining stitch around. Join with sl st. (20)
Round 3: ch 4. [Skip next dc, sc in following dc, ch 3] around. Join with sl st to first ch of round. (40)
Round 4: ch 2 (counts as 1st sc). 4 sc in 1st ch space, ch 1. [5 sc in next ch space, ch 1] around. Join with sl st. (60)
Round 5: ch 3 (counts as 1st dc). dc in 1st st and in each st around. Join with sl st. (60)
Round 6: ch 2 (counts as 1st sc). sc in 1st st and in each st around. Join with sl st. (60)
Round 7: ch 3 (counts as 1st dc). 4 dc in 1st st. ch 1. Skip next 2 st. (5 dc in next st, ch 1, skip next 2 st) around. Join with sl st. (120)
Finishing:
Cut thread and fasten off. Weave in ends. Lay coaster flat and smooth over with hand. It should settle flat and stay that way, particularly after it has been laying flat for a short time. (I did not need to block mine.)
Please note:
This pattern is for your non-commercial personal use only. Please do not copy any material within the pattern nor within any of my blogs. Thank you.
...That's it! If you have any questions or find any errors, please let me know. I hope you will share photos of your finished projects! (This pattern link can be found here on Ravelry.)
No comments:
Post a Comment